How to Install Composer on Ubuntu 24.04
Composer is one of the most popular dependency management tools for the PHP programming language. Composer is designed primarily to make it easier to install and update dependencies in your project. Composer is especially useful for working with popular frameworks such as Laravel, Symfory, Yii2, and others.
In this article, we will look at a simple and at the same time fast process of installing Composer on the Ubuntu 24.04 operating system. Do not worry if you have another platform, for example Debian or Fedora, installing composer on other platforms will not be any different from installing it on Ubuntu.
To avoid any problems during the installation process, you must have permissions to execute the sudo command or perform all actions as the root super user.
Contents of the article:
- Updating the repository.
- Installing dependencies.
- Installing Composer.
- Checking the installation.
1. Updating the repository.
The very first thing you need to start with is to update all packages in the repository to the latest version, for this we use the command:
~$ sudo apt update && apt upgrade
2. Installing dependencies.
You can't just install Composer without additional dependencies. Composer installation will require you to have the following packages installed: php-cli, php-zip, unzip, wget. Let's install them, for this we use the command:
~$ sudo apt install php-cli php-zip wget unzip
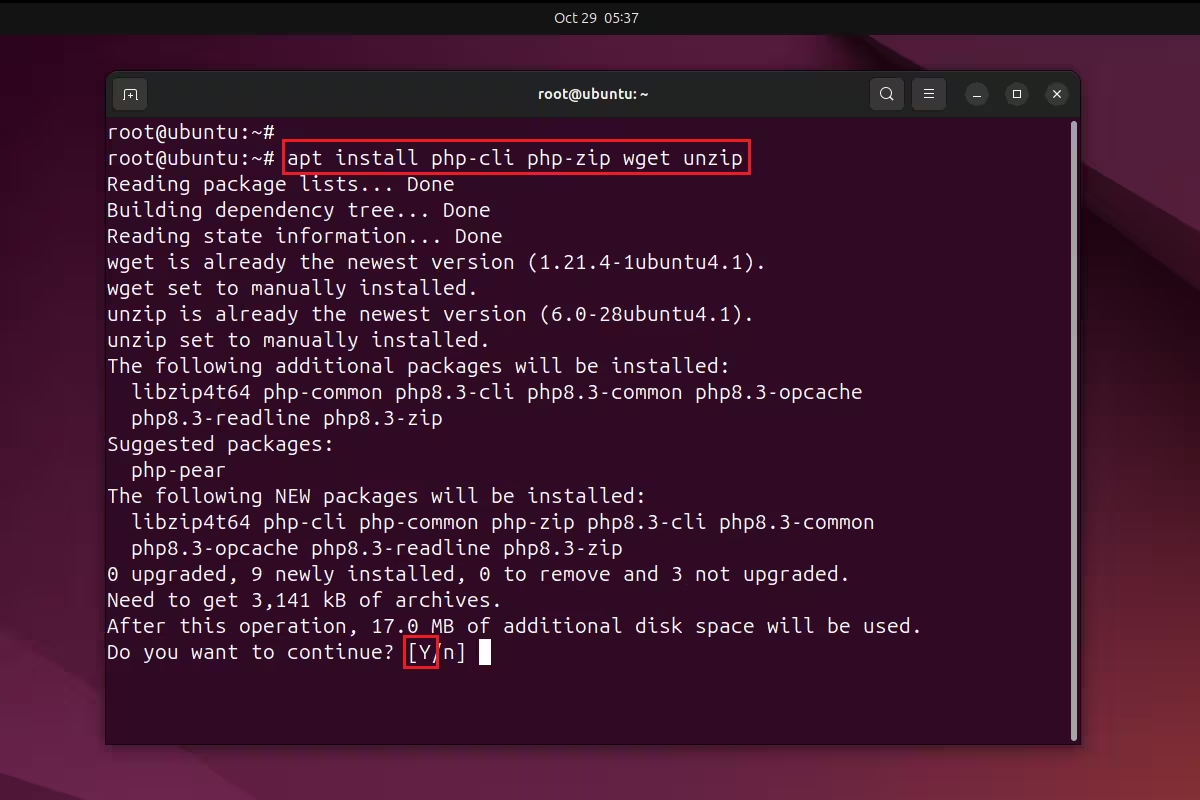
We confirm the installation of packages.
3. Installing Composer.
Composer installation is an installer script called composer-setup.php and written in the php programming language, we need to download it. To download the Composer installer script, use the command:
~$ php -r "copy('https://getcomposer.org/installer', 'composer-setup.php');"
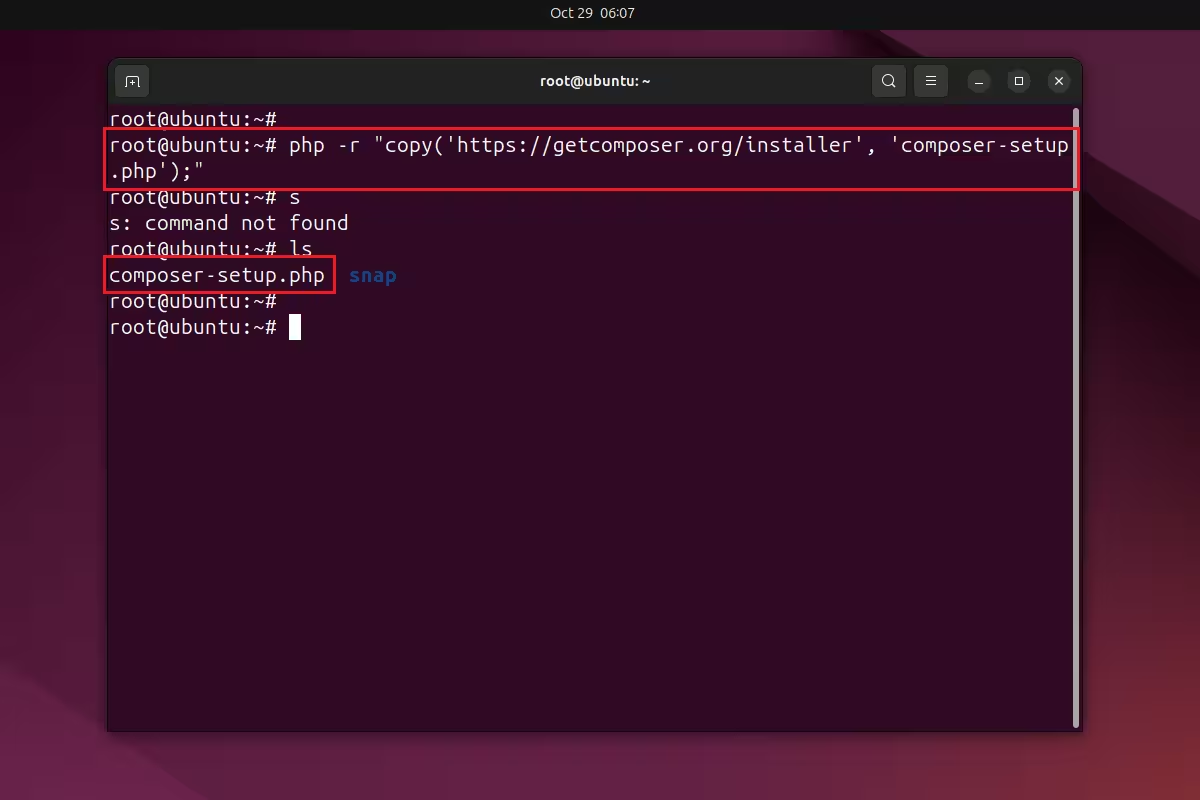
The command downloads the script to your server and saves the script to the composer-setup.php file, this file is now the Composer installer.
Next we need to check if the installer we downloaded matches the SHA-384 hash for the latest installer that will be found on the page https://composer.github.io/installer.sig
~$ HASH="$(wget -q -O - https://composer.github.io/installer.sig)"
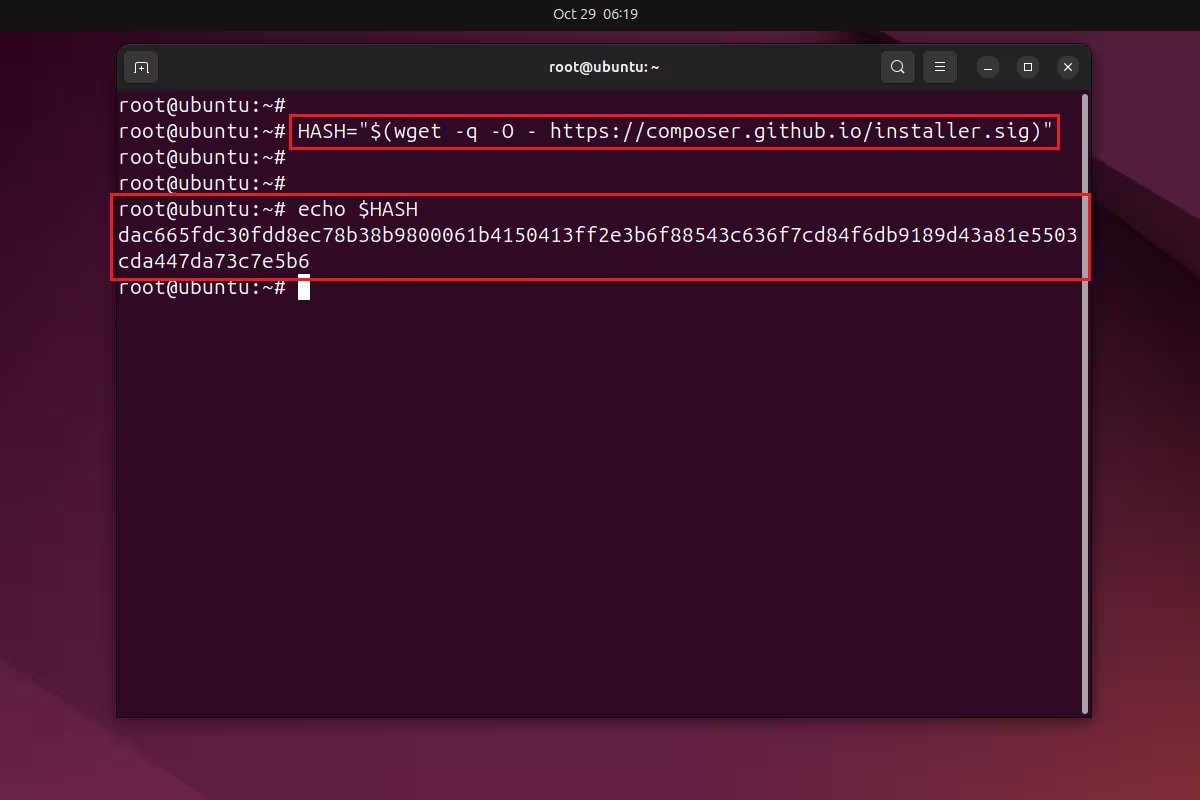
The hash from composer.github.io has been successfully obtained, if you want to look at it, you can do this using the echo command.
The next step is to make sure that the composer-setup.php installer script is safe for us by checking the hashes, for checking we use the command:
~$ php -r "if (hash_file('SHA384', 'composer-setup.php') === '$HASH') { echo 'Installer verified'; } else { echo 'Installer corrupt'; unlink('composer-setup.php'); } echo PHP_EOL;"
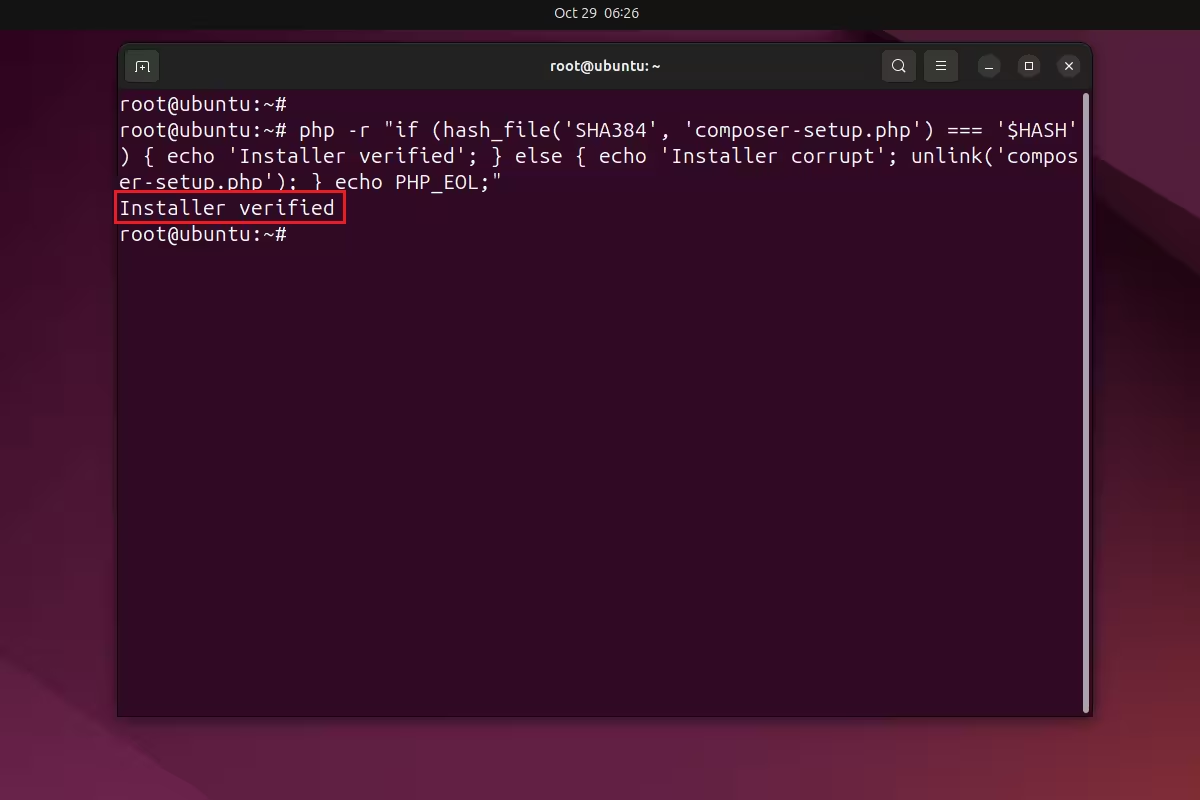
At the end of a successful check, you should see the Installer verified message. If you see the Installer corrupt message, you will need to re-download the composer-setup.php installer script and re-pass the hash verification procedure.
After all the steps that we have done, we can now proceed to install Composer itself on Ubuntu, for this we use the command:
~$ sudo php composer-setup.php --install-dir=/usr/local/bin --filename=composer
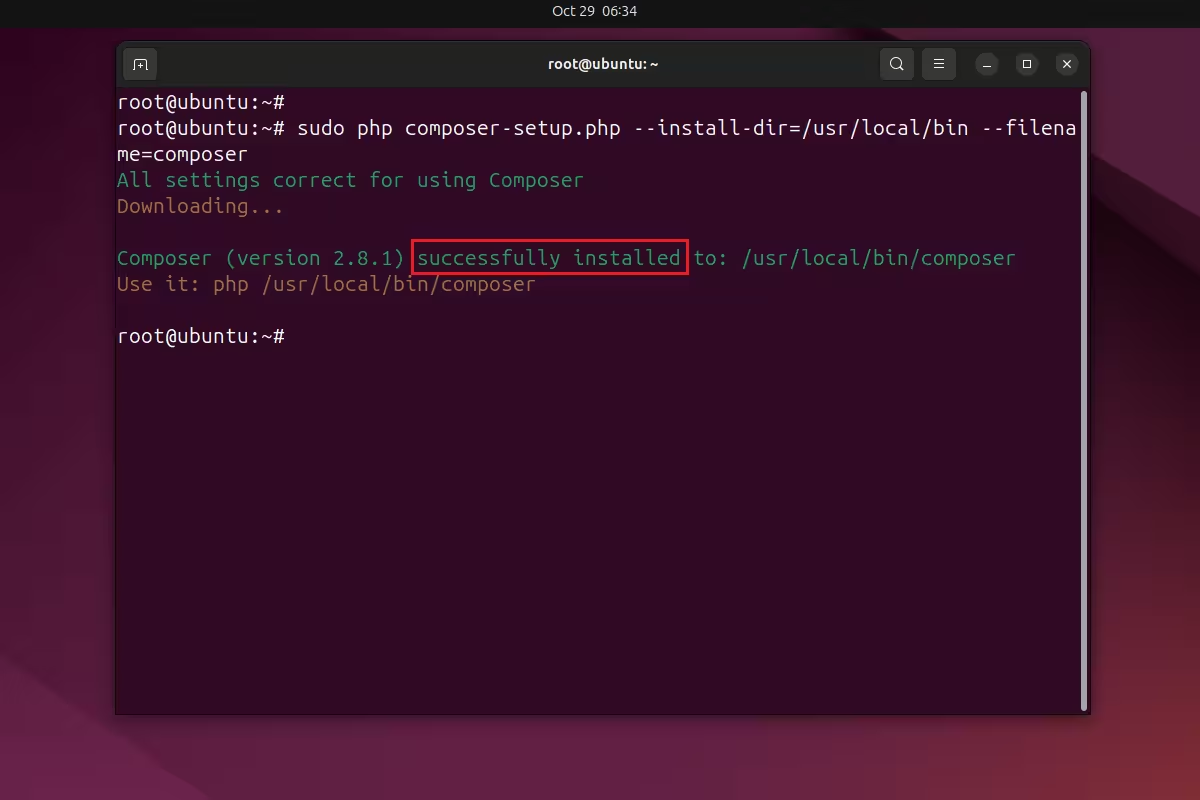
As a result, you should see a message about successful installation - "successfully installed"
4. Checking the installation.
Once you install Composer, you will have access to a global command called composer.
~$ composer
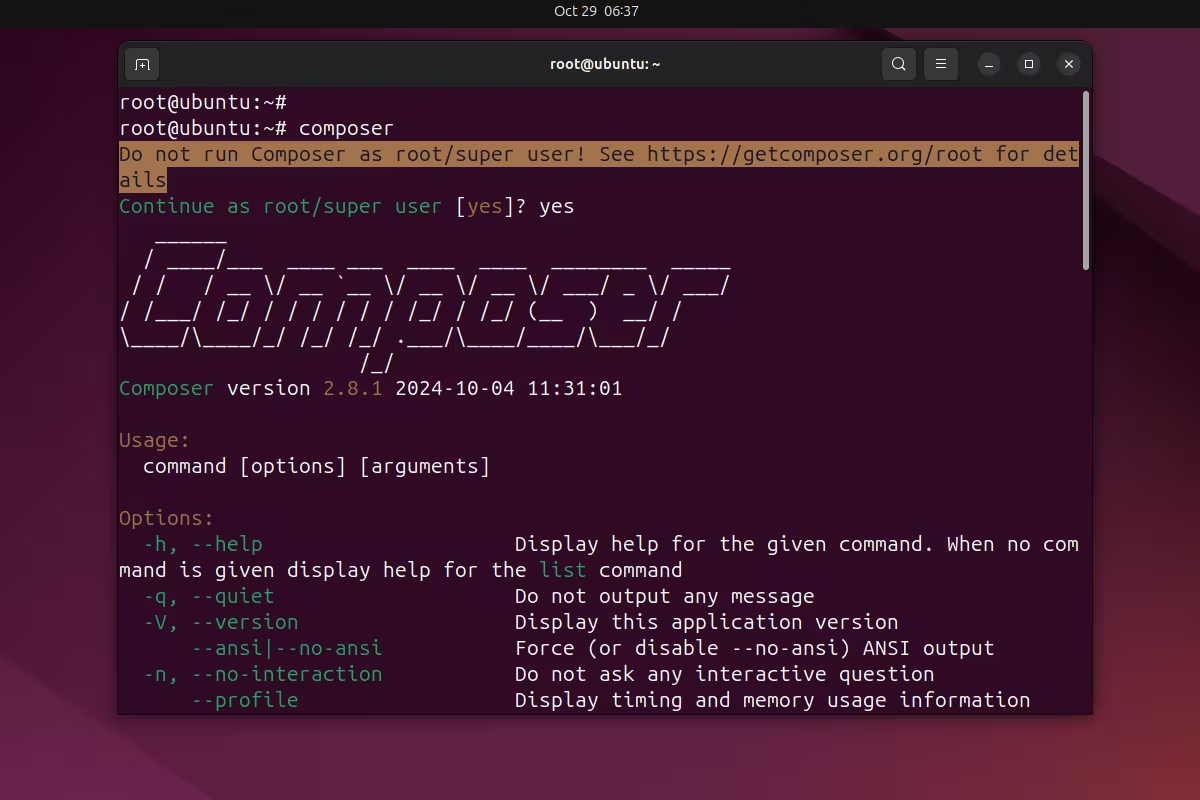
If you see such a message, it means you did everything correctly.
As a result, today we will consider how to quickly and easily install the Composer dependency manager on the Ubuntu operating system without any problems.
