How to Install and Enable SSH on Ubuntu
When establishing a remote connection between a client and a server, the first priority is to secure the connection. For Linux users, the best practice for remotely accessing and managing an Ubuntu-based server or workstation is to use the SSH (Secure Shell) cryptographic protocol.
SSH is a network protocol that provides a secure connection between a client and a server. SSH encrypts all data transmitted from one server to another, ensuring that confidential information is not compromised. The SSH protocol works on different operating systems, which means that it will work on Ubuntu.
Enabling SSH on Ubuntu is very simple, but for novice system administrators or regular users, a detailed description may be required. In this article, we will look at how to enable the SSH protocol on Ubuntu.
Contents of the article:
- Installing updates.
- Check if SSH is installed on the server.
- Installing SSH.
- Let's check the SSH installation again.
- Check.
1. Installing updates.
Before we start installing SSH on Ubuntu, we need to update all packages on the server to the latest versions. To install the update, use the command:
~$ sudo apt update && sudo apt upgrade
2. Check if SSH is installed on the server.
By default, all versions of the Ubuntu operating system do not have SSH installed. To check, run the command:
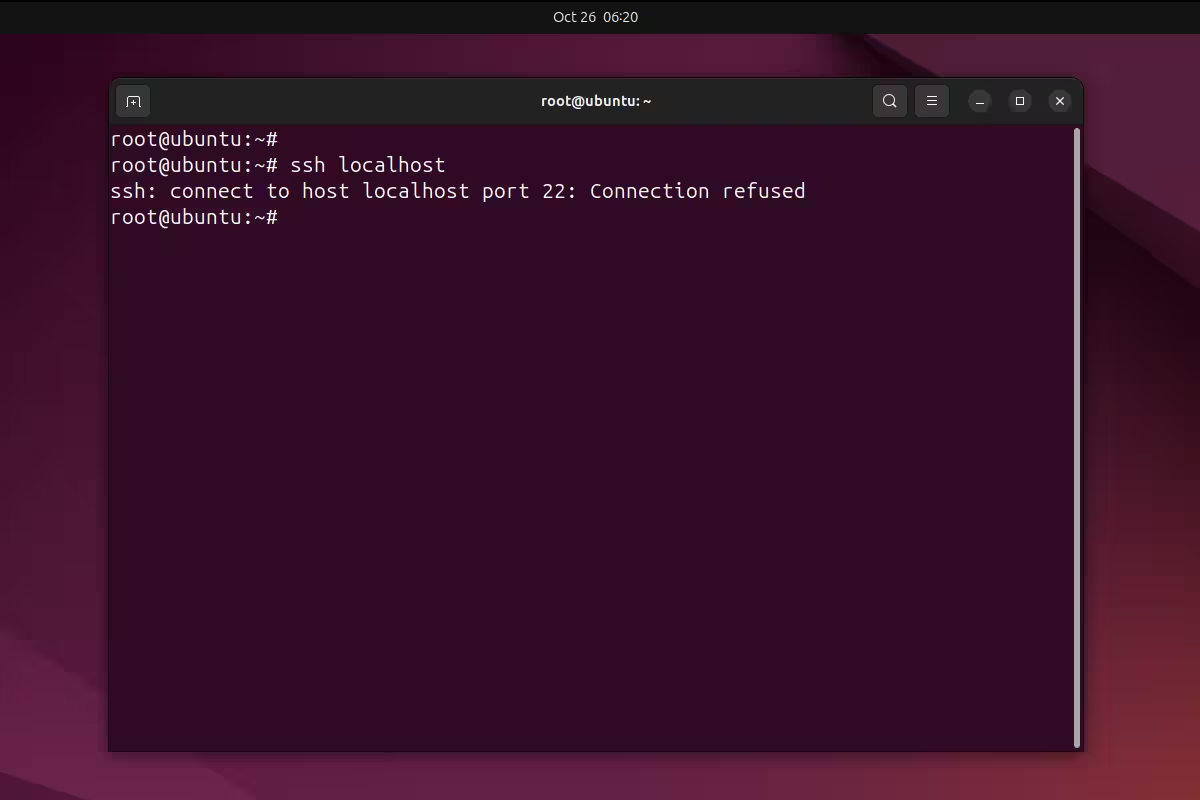
~$ ssh localhost

If you see the message "Connection refused" in the result, it means that SSH is not installed on your server.
3. Installing SSH.
To install SSH on an Ubuntu server, use the command:
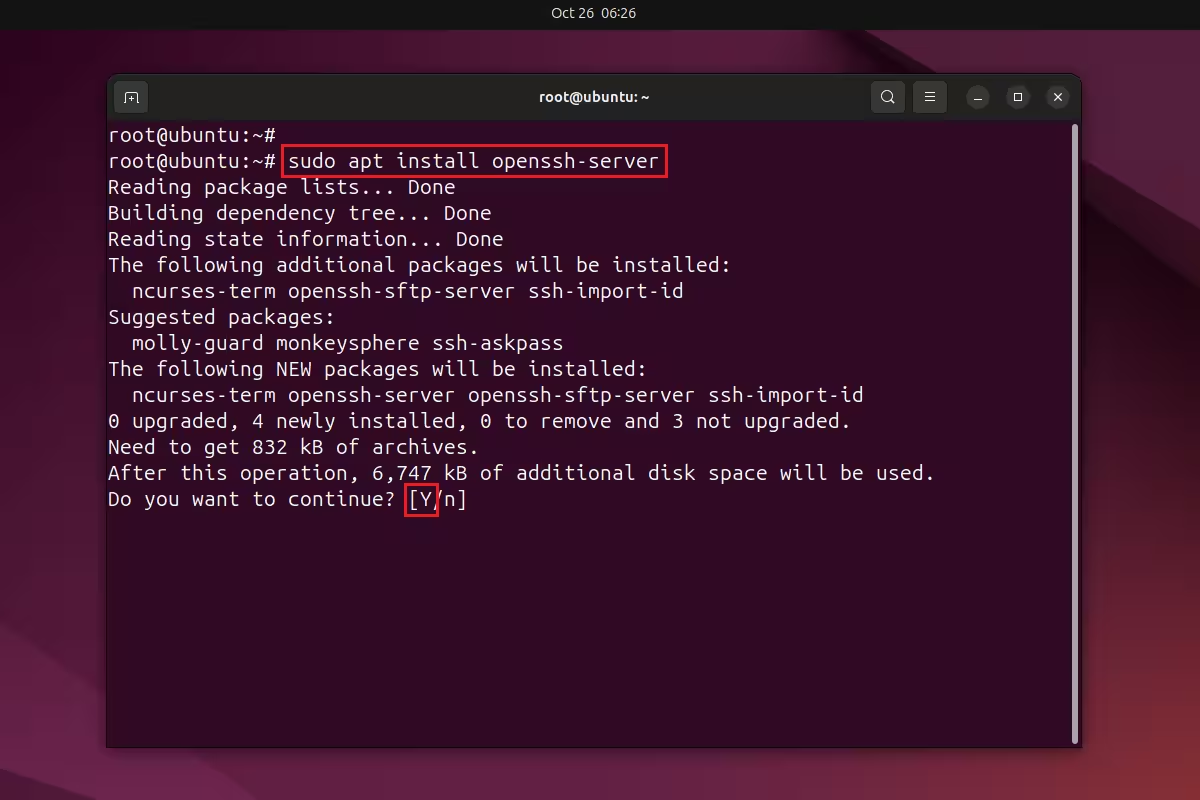
~$ sudo apt install openssh-server

We agree with the installation, after which the installation of SSH on your server begins.
4. Let's check the SSH installation again.
After installation, you need to check whether the ssh service has started. To check the service, use the command:
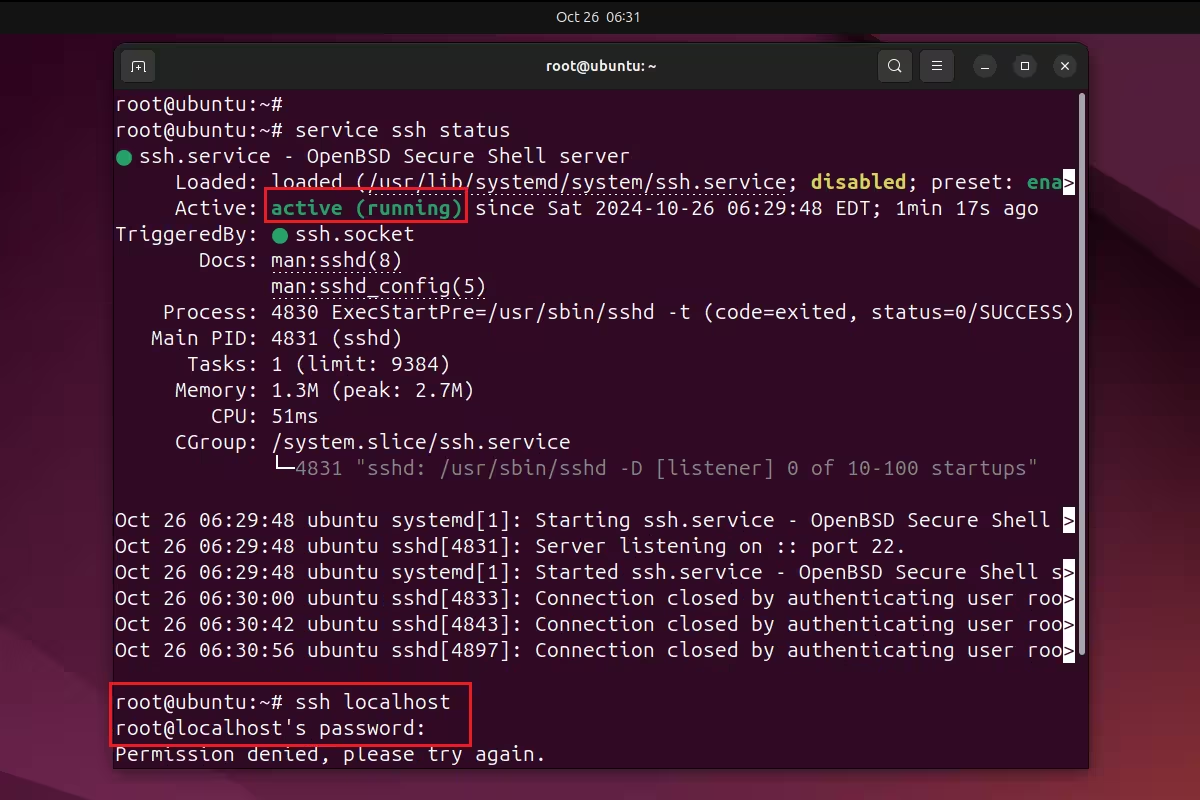
~$ sudo service ssh status

As we can see in the Active field, we see the values active (running), this means that the service has been successfully launched.
And now we try to connect to our server locally again using the command "ssh localhost", and we see that now instead of the message "Connection refused" we see a field for entering the password from the user who requested a connection to the server.
5. Check.
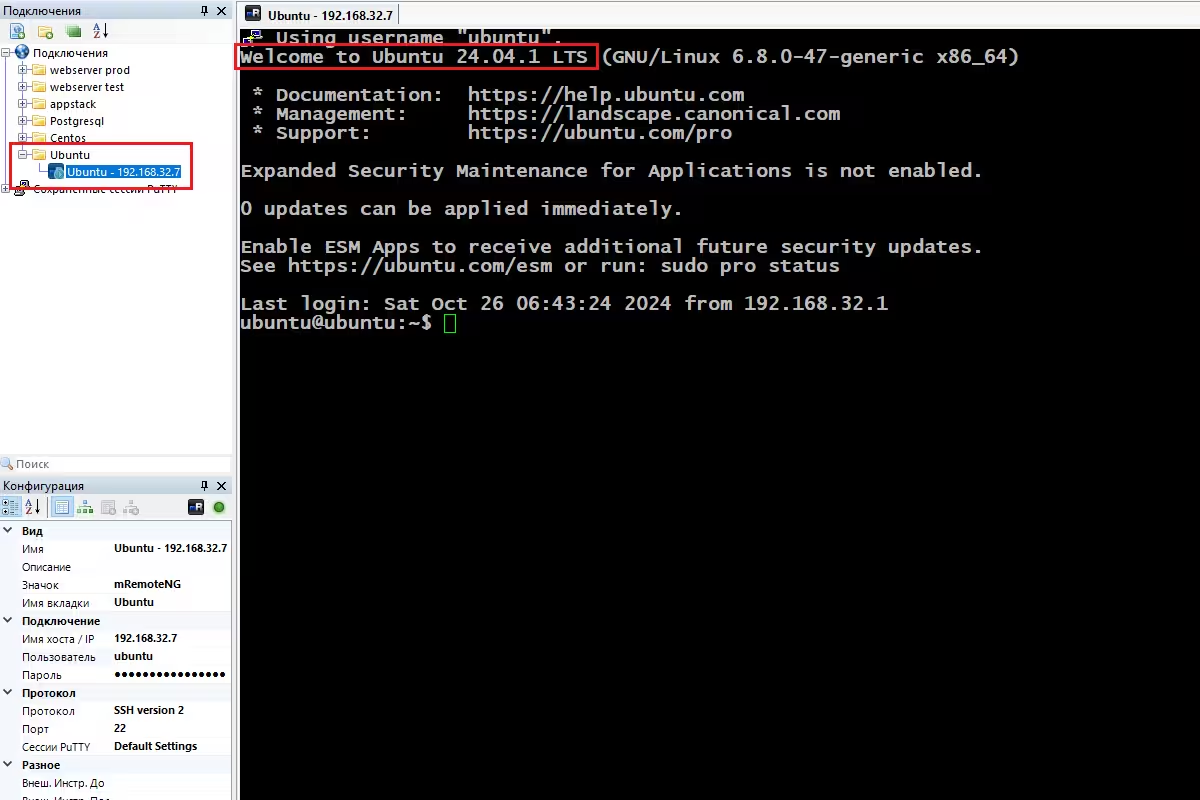
Now that we have installed SSH and checked how the service works, it is time to check the connections to the server from an external computer. For this test, I will use the mRemoteNG program.

As we can see, as a result I successfully connected to the server, which means we did everything correctly.
As a result, we looked at how quickly and easily you can install and configure ssh on an Ubuntu server.

